 Biscuits. Have you ever met anyone who was like, "You know what I hate? Fluffy, flaky, buttery
 biscuits." No, you haven't. Everyone loves biscuits. They're ubiquitous. Although you can find biscuits anywhere, I think most would agree that Southern biscuits are really what you want- biscuits with some heft, some tang, and so. much. butter.
I also want to say that biscuits are really fucking fast. Like start to finish, you can do it in 20 - 25 minutes. You can throw them together while you're making the rest of your dinner. Fresh biscuits. On a Tuesday. What's not to love? I made them the first time with this black bean soup that was to die for!
To prepare for this post, I did a lot of biscuit research. I will share some tips I have found about biscuit making as we go. I will also let you know about some delicious add-ins for biscuit bliss!
I used this recipe from Genius Kitchen
Here are two other websites that have good tips for biscuits:
Southern Living: 11 Ways you're Ruining your Biscuits
King Arthur Flour: Tips for Better Biscuits
Ingredients:
2 c all-purpose flour (plus more for dusting)
1/4 tsp baking soda
1 tbsp baking powder
1 tsp salt
6 tbsp unsalted butter, cold *I actually put my butter in the freezer the night before
1 c buttermilk (approximately) *Both times I have made this recipe so far, I've needed a bit more buttermilk, but I'm also making it in the middle of the winter. Maybe in the summer, with more humidity, this will change.
Directions:
1. Preheat oven to 450F.
2. Combine dry ingredients in a bowl.
3. Cut the butter into chunks and cut into the flour until it resembles a coarse meal. *Here's a tip- take out your frozen butter, and grate it on a cheese grater. Insta-coarse meal pieces of butter. So much easier to incorporate into the dry ingredients.


4. Add the buttermilk and mix JUST until combined. If it appears on the dry side, add a bit more buttermilk. It should be very wet.
5. Turn the dough out onto a floured surface.
6. Gently PAT the dough (do not use a rolling pin) until it's about 1/2 inch thick. *you want to handle this dough as little as possible.

7. Fold the dough about 5 times. *I folded, rotated, folded, rotated 5 times. I don't know that it matters, but it felt like a good thing to do.
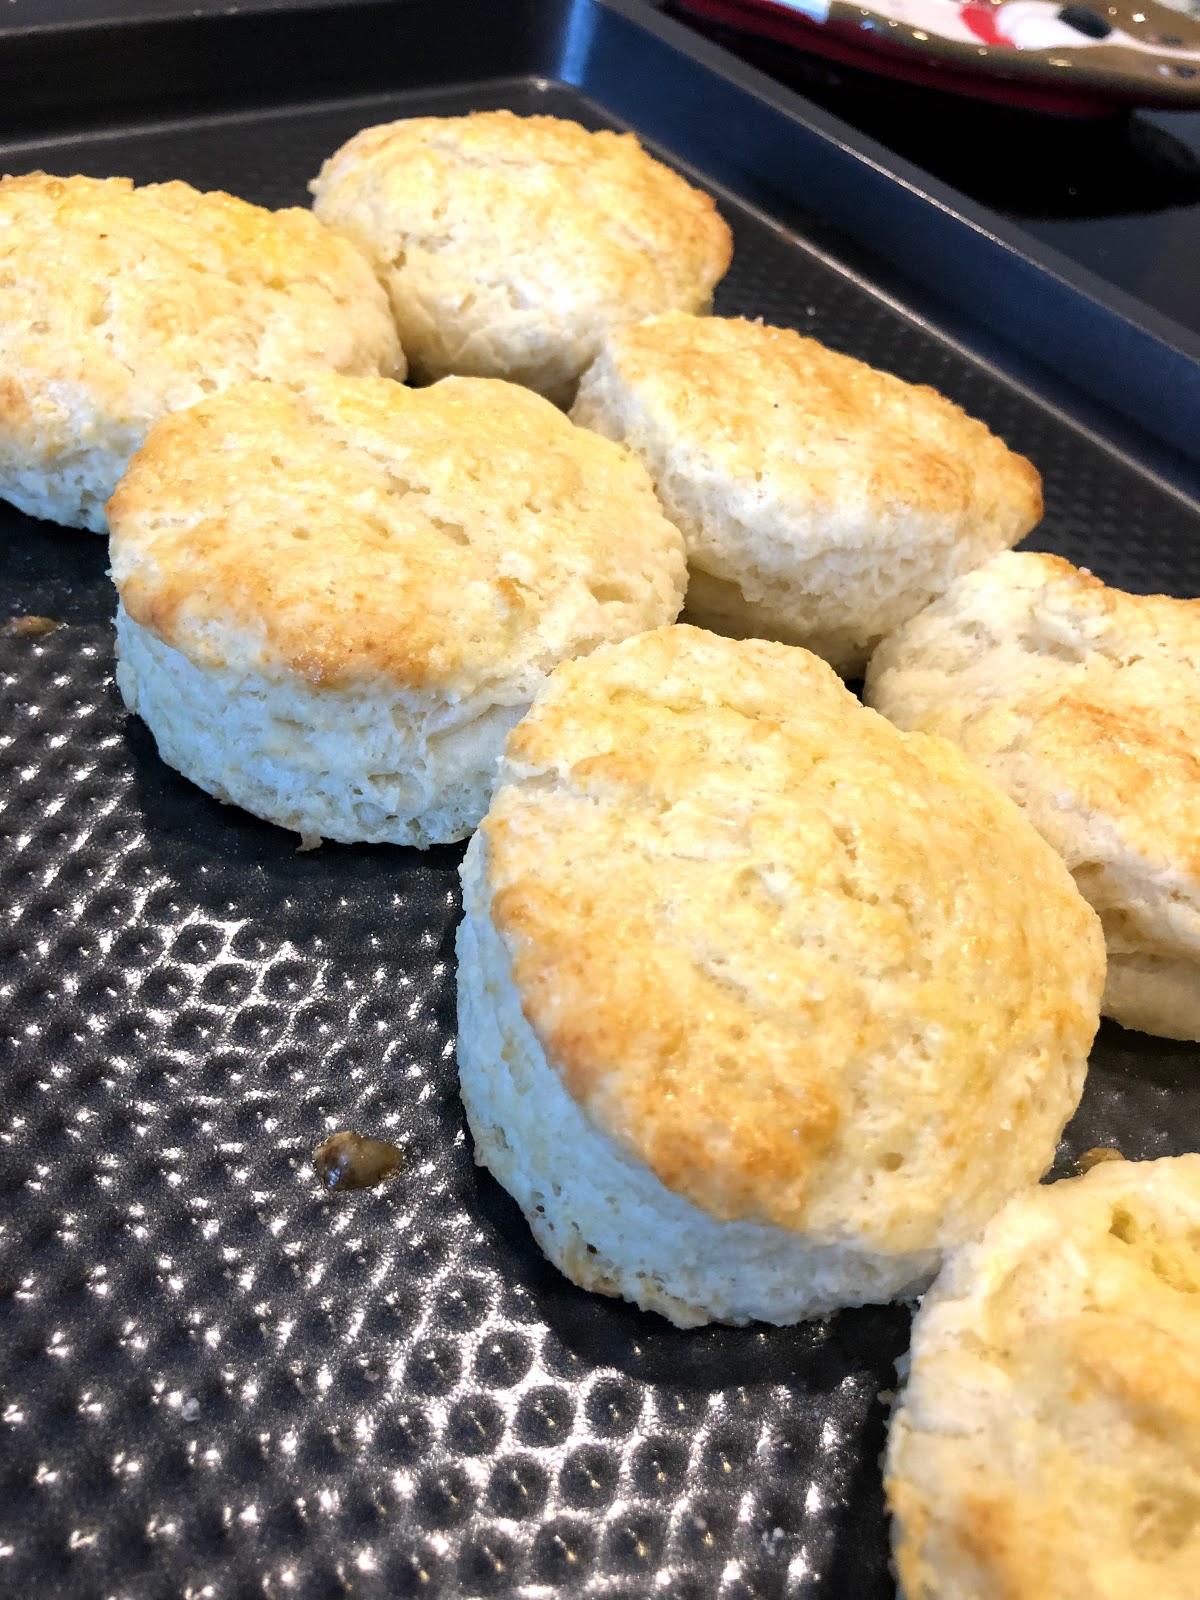
8. Press down until about 1 inch thick. Use a round cutter to cut into rounds. You can knead the excess dough and cut again, but they won't be as good. *I didn't use a round cutter the first two times. I'm not having excess scraps- I'm using ALL my dough, thank you. I just cut them into squares. Rustic. But then the next time I was making breakfast sandwiches, and egg muffins and sausage patties fit better on a circle lol, so I get the appeal of both ways.
9. Place them on a baking sheet. If you like soft sides, place the biscuits touching each other. If you want them crusty on the sides, give them some room between. *I went for soft. Maybe I'll try the crusty sides next time. Or maybe I won't. The soft are delicious pillows.

Rating (Scale 1 - 5)
Difficulty: 1
Amount of Time: 1
Awesomeness: 5


No comments:
Post a Comment