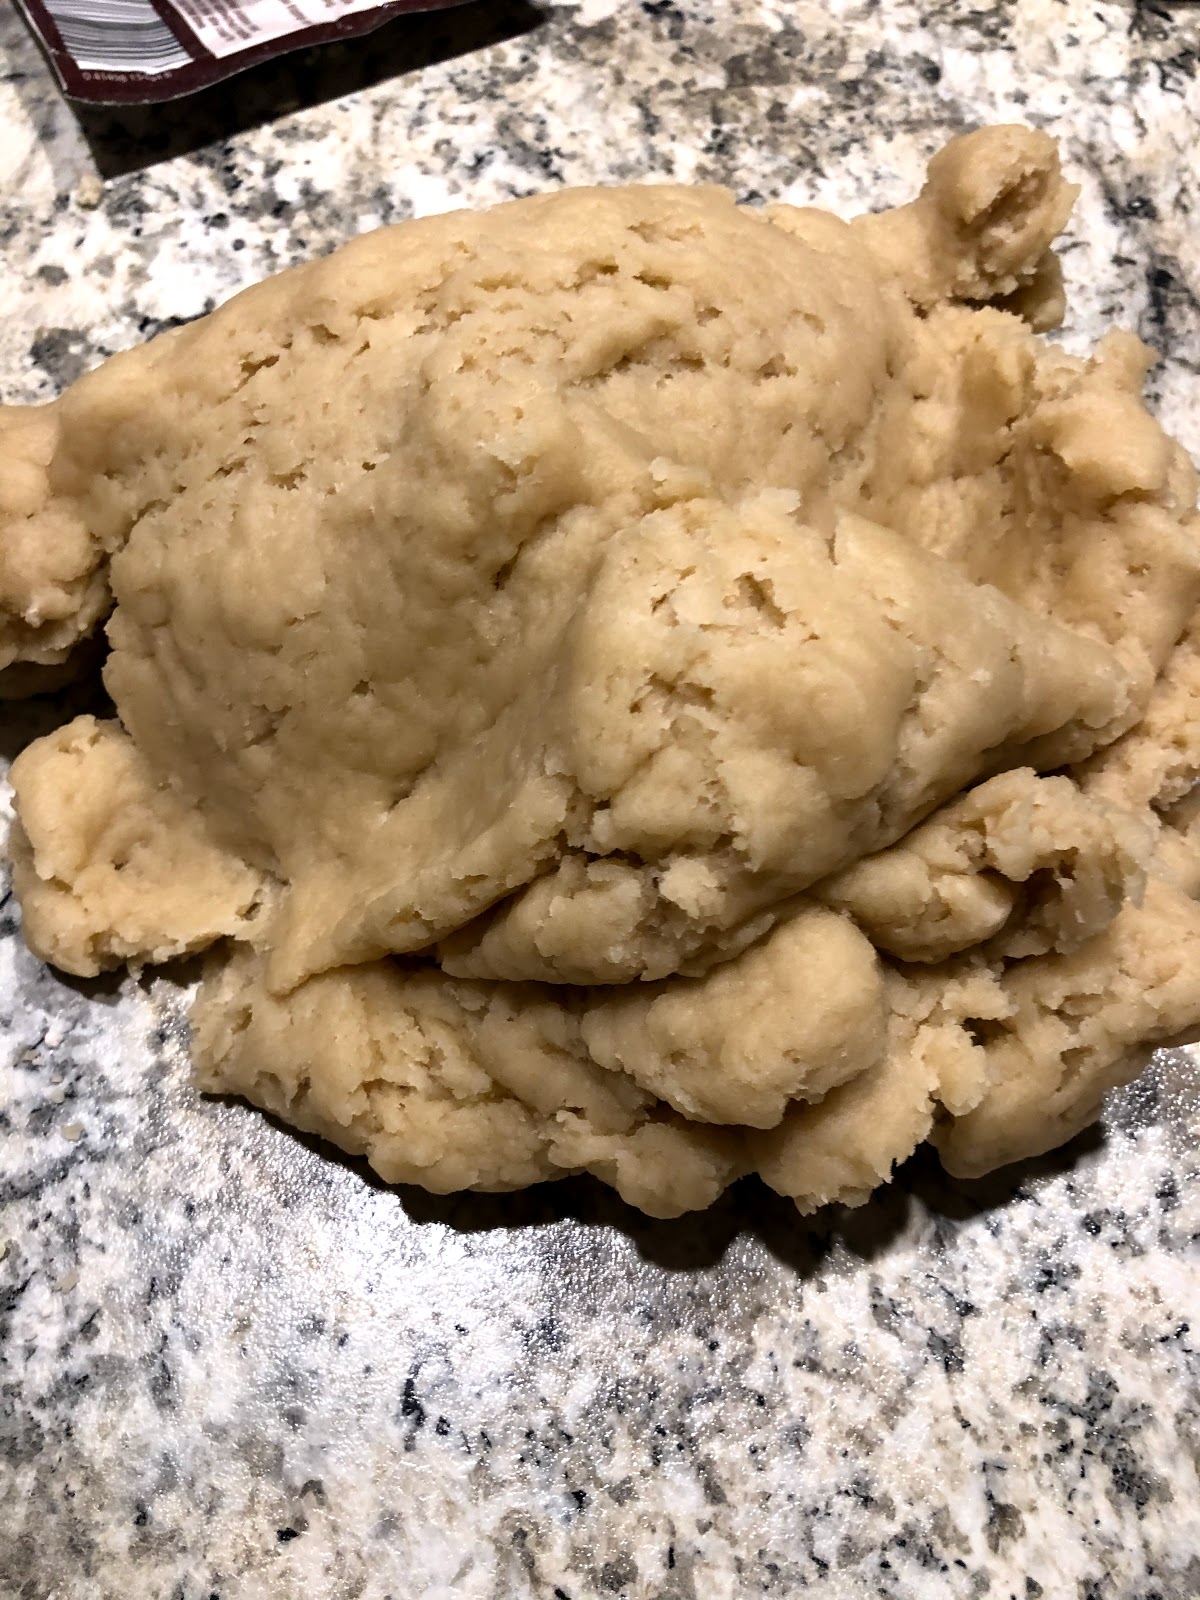
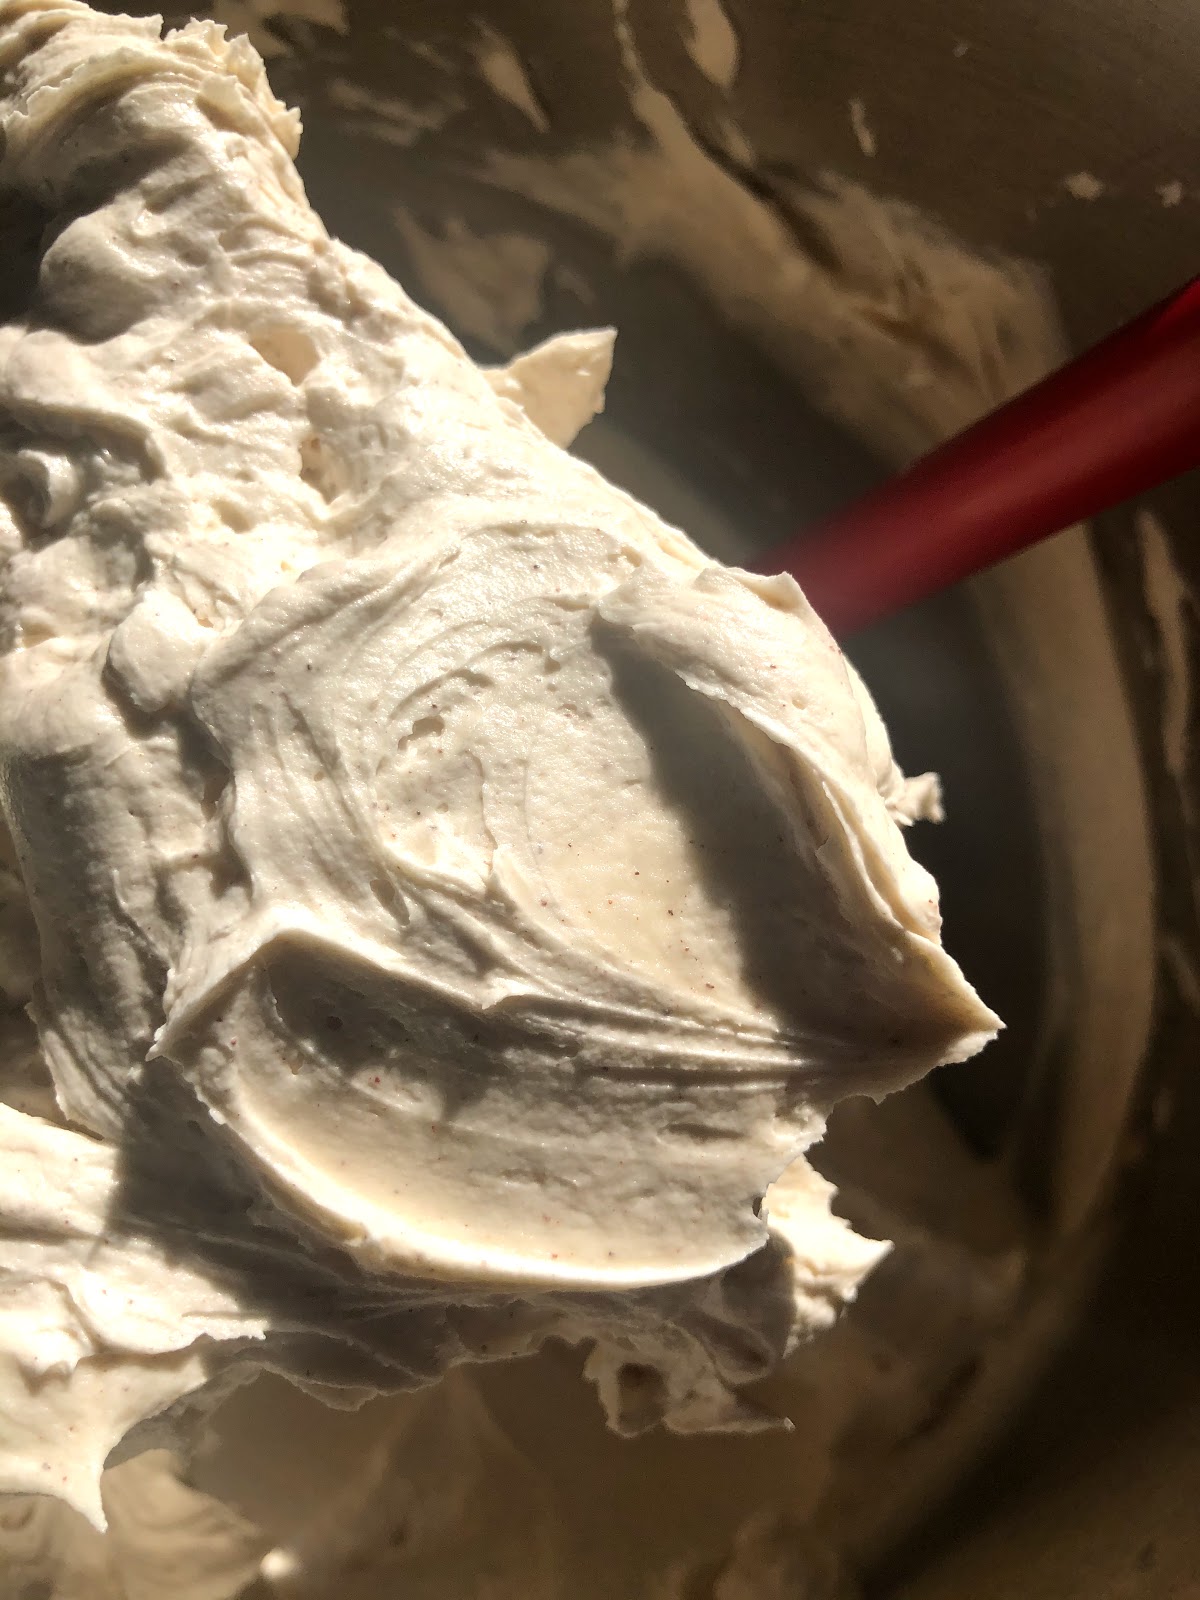
It's Valentine's week, bitches! Look alive! This week is dedicated to filling my face with sweets, and no one can stop me. No. One. On the list of must haves, of course, is red velvet. I made these in the form of whoopie pies because, you know, Valentine's day... I'm a child. Anyway, this recipe will make about 15 whoopie pies depending on how big you make them (that's 30 ish cookies- they're sandwiched together).
For the whoopies:
1 c unsalted butter, room temp
1 c granulated sugar
1 3/4 c all-purpose flour
1/8 c cocoa powder
2 eggs
1 tsp baking powder
3/4 tsp salt
1 tsp vanilla extract
1 tbsp white vinegar
Red food coloring *if you have the liquid kind, use that. I did not; I had gel, and it was hard getting a color that I found suitable for these.
1. Preheat oven to 350F.
2. Combine dry ingredients in a bowl and set to the side (flour, cocoa powder, baking powder, and salt).
3. In a stand mixer fitted with paddle attachment, cream together butter and sugar. At this point, I added my food coloring. You might be able to get away with adding it later if it's liquid, but not with gel. The first time I made these, I added the food coloring at the end (again, gel, not liquid), and the color was this:
Not quite the red velvet I was going for....
4. Add in eggs one at a time, mixing to combine.
5. Add in vanilla and vinegar to the mixture.
6. Slowly add in the dry ingredients.
7. Allow to firm up in the fridge for at least 30 minutes before scooping onto a baking sheet and baking for 10 - 12 minutes.
*If you're not baking them all at once, put dough back in the fridge so that it doesn't get too soft. If you don't some of the cookies lose their shape, like this:
8. Allow to cool completely before filling with the frosting.
For the filling:
4 oz (half a stick) unsalted butter, room temp
4 oz cream cheese, room temp
1 tsp vanilla extract
2 c powdered sugar
Milk for thinning (optional)
1. Cream together butter and cream cheese.
2. Slowly incorporate powdered sugar.
3. Add vanilla, and if needed, a splash or two of milk. I did use the milk both times I've made these.
4. Fill up a piping bag or ziploc bag and cut a big hole so that you can pipe the frosting onto one cookie. Squish another cookie on top just until the frosting almost reaches the sides.
Thursday, February 13, 2020
Friday, January 31, 2020
Dreamsicle Cake
It's my friend Mary's birthday at work today, and it's freaking cold and rainy outside, and sometimes you just need a little sunshine. So, I made a dreamsicle cake! This is a vanilla cake with orange zest, soaked with an orange simple syrup, filled with orange marmalade, slathered with vanilla buttercream, and topped with candied oranges. Say all that in one breath! Nothing like a little vitamin C in cake form to help all your winter ailments.
This recipe makes three 8-inch round cakes OR 24 cupcakes plus a little extra batter.
For the candied oranges:
I used this recipe for the candied oranges with slight modifications.
1 1/2 navel oranges sliced into about 1/8 - 1/4 inch thick.
2 cups granulated sugar
2 cups water
2 tbsp orange juice (from the other half of the second orange)
1. Put a pot of water on the stove to boil.
2. Make an ice bath in a large bowl and set by the boiling water.
3. Place orange slices in the boiling water for about one minute and then transfer them to the ice bath to cool. *The recipe said to drain them before the next step.... I didn't. I just kept them in the ice bath until my syrup was ready.
4. Bring the 2 cups water, granulated sugar, and orange juice to a boil on the stove. Once the sugar has dissolved, reduce to medium-low heat. Add orange slices in a single layer. *mine was not a single layer... It was still okay.
5. Simmer the orange slices for about 45 - 60 minutes, flipping every 15 minutes, until the rinds are slightly translucent.
6. Place orange slices on a cooling rack (preferably with something underneath to catch the drip) and allow to cool completely. *the recipe says at least an hour up to overnight. I did two hours, and it's fine, but I think next time I will do it overnight. For this cake application, two hours is fine. For like candy, overnight probably makes for a better chew. *Also, once they set up, I cut them in half to be able to place on the cake. Definitely wait until they have hardened!
7. Dust with additional granulated sugar to help with the stickiness.
8. RESERVE the syrup! That's your soak for the cake!
For the cake:
1/2 c vegetable oil
1/2 c unsalted butter (1 stick, room temp)
2 c granulated sugar
3 eggs
2 c all-purpose flour
1 1/2 c cake flour
1 tsp salt
1/2 tsp baking soda
2 tsp baking powder
1 1/2 c buttermilk
1 tsp vanilla extract
Zest of 1 orange
1. Preheat oven to 350F and prepare pans with goop.
2. Combine vegetable oil and butter in the bowl of stand mixer fitted with paddle attachment.
3. Gradually add in the granulated sugar and whip until light and fluffy.
4. Add in eggs one at a time and vanilla to the sugar mixture.
5. In a separate bowl combine dry ingredients: flour, salt, baking soda, and baking powder.
6. Pour 1/3 of the dry ingredients into the sugar mixture and mix to combine.
7. Pour 1/2 of the buttermilk into sugar mixture and combine.
8. Pour another 1/3 of dry.
9. Pour second 1/2 of buttermilk.
10. Pour in the last 1/3 of the dry ingredients.
11. Put in the zest and whip to incorporate.
12. Divide the batter between the pans. Bake for 25 - 30 minutes or until a toothpick inserted comes out clean.
13. Once slightly cooled, turn out onto wire wrack to finish cooling before assembly.
14. Once cooled, you can level off the cakes with a serrated knife if need be.
For the buttercream:
4 sticks unsalted butter, room temp
5 1/2 (ish) c powdered sugar
Pinch of salt
2 tsp vanilla
Splash of heavy cream (optional)
1. Put butter into stand mixer fitted with paddle attachment and start to mix.
2. Slowly incorporate the powdered sugar. *I did sift my powdered sugar.
3. Add vanilla and salt.
4. Whip until light and fluffy. If you feel like it's too loose, add more sugar. If it feels too tight, add a splash of cream or milk.
Assembly:
1. For this, you will also need some orange marmalade. I did NOT make mine. I bought mine. You do you, boo. I used about half a jar (8ish oz in total, but buy a 15 oz jar in case you want more).
2. Take your cake stand and put a dollop of buttercream in the middle. Place your first cake layer on that dollop (this is just to ensure the cake doesn't move around while frosting). *If you didn't level your cakes, it may be best to flip them upside down because that side will allow the syrup to soak in better.
3. Take a pastry brush and brush the reserved syrup from the candied oranges onto the cake. *I still had extra syrup afterwards and put it in a mason jar to save for drinkie drinks!
4. Put some of your frosting into a piping bag and pipe a boarder on the top of the cake. This is a dam for the marmalade.
5. Scoop half of the marmalade onto the cake layer and smooth. *I am not here to tell you how to live your life. You do as much marmalade as you want. Just make sure that your dam keeps it in!
6. Place second layer on top. Repeat with the syrup and dam and marmalade.
7. Add third layer. Cover entire cake in buttercream. Add candied oranges on top!
1/2 tsp baking soda
2 tsp baking powder
1 1/2 c buttermilk
1 tsp vanilla extract
Zest of 1 orange
1. Preheat oven to 350F and prepare pans with goop.
2. Combine vegetable oil and butter in the bowl of stand mixer fitted with paddle attachment.
3. Gradually add in the granulated sugar and whip until light and fluffy.
4. Add in eggs one at a time and vanilla to the sugar mixture.
5. In a separate bowl combine dry ingredients: flour, salt, baking soda, and baking powder.
6. Pour 1/3 of the dry ingredients into the sugar mixture and mix to combine.
7. Pour 1/2 of the buttermilk into sugar mixture and combine.
8. Pour another 1/3 of dry.
9. Pour second 1/2 of buttermilk.
10. Pour in the last 1/3 of the dry ingredients.
11. Put in the zest and whip to incorporate.
12. Divide the batter between the pans. Bake for 25 - 30 minutes or until a toothpick inserted comes out clean.
13. Once slightly cooled, turn out onto wire wrack to finish cooling before assembly.
14. Once cooled, you can level off the cakes with a serrated knife if need be.
For the buttercream:
4 sticks unsalted butter, room temp
5 1/2 (ish) c powdered sugar
Pinch of salt
2 tsp vanilla
Splash of heavy cream (optional)
1. Put butter into stand mixer fitted with paddle attachment and start to mix.
2. Slowly incorporate the powdered sugar. *I did sift my powdered sugar.
3. Add vanilla and salt.
4. Whip until light and fluffy. If you feel like it's too loose, add more sugar. If it feels too tight, add a splash of cream or milk.
Assembly:
2. Take your cake stand and put a dollop of buttercream in the middle. Place your first cake layer on that dollop (this is just to ensure the cake doesn't move around while frosting). *If you didn't level your cakes, it may be best to flip them upside down because that side will allow the syrup to soak in better.
3. Take a pastry brush and brush the reserved syrup from the candied oranges onto the cake. *I still had extra syrup afterwards and put it in a mason jar to save for drinkie drinks!
4. Put some of your frosting into a piping bag and pipe a boarder on the top of the cake. This is a dam for the marmalade.
5. Scoop half of the marmalade onto the cake layer and smooth. *I am not here to tell you how to live your life. You do as much marmalade as you want. Just make sure that your dam keeps it in!
6. Place second layer on top. Repeat with the syrup and dam and marmalade.
7. Add third layer. Cover entire cake in buttercream. Add candied oranges on top!
Tuesday, January 28, 2020
Double Chocolate Pound Cake
off of my other recipe that I did, but then I was looking at chocolate pound cake recipes, and a lot of them called for some kind of milk as well. Then I was like should I do that? Anyway, long story short, I said fuck it, and did my usual ratios, and I was not disappointed. This cake is dense in the best way, with a great crumb, and hidden chocolate chips scattered throughout. This is a pound cake, so you know the rules. Equal parts (by weight) butter, flour (and cocoa), sugar, and eggs. This amount of batter made 5 mini loaves, or it is great for a bundt pan. Next time, I may even put chocolate ganache on top for a triple threat.
For the Batter:
3 sticks unsalted butter, room temp (12 oz)
1 1/2 c granulated sugar (12 oz)
7 eggs (12 oz- my eggs were small, so it is best to weigh if you can)
1 1/2 c all-purpose flour
1/2 c cocoa powder (combined with flour for 12 oz)
1 1/2 tsp salt
1 1/2 tsp baking powder
1 tsp vanilla extract
1 bag semi-sweet chocolate chips *I just decided to do the whole bag so that we would stay on the 12 oz train
1. Preheat oven to 325F and prepare your baking pan, whatever that may be. Goop is a good application here, especially if you're using a bundt pan.
2. In a stand mixer, combine sugar and butter and cream for about 2 minutes.
3. Incorporate the eggs one at a time until fully combined.
4. Add vanilla.
5. In a separate bowl, put all dry ingredients and mix to combine. Slowly add to the stand mixer of wet ingredients.
6. Stir in the chocolate chips with a rubber spatula so that the stand mixer doesn't kill them.
7. Pour into your prepared pan. If it's a mini loaf, mine took about 48 - 50 minutes. If it's in a bundt pan, it can take a little longer. Test with a toothpick, and take it out when it comes out clean- reminder that there's chocolate chips in here, so it won't be perfectly clean ever.
8. Once slightly cooled, you can turn them out onto a wire wrack to cool completely.
Wednesday, January 22, 2020
Apple Pie Cupcakes
Let's be honest here; these cupcakes were born out of the fact that I had to buy a whole bag of green apples from Aldi when I only needed one apple. What to do with extra apples? Cook them up and shove them inside a delicious cupcake, of course! These are pretty hearty cupcakes. They are moist and dense and spicy and the apple goes perfectly with them. I am still working on my non-chocolate batters, so this is similar to my other spice cake, but I have been playing with the ratios, and in this one, adding sour cream. I like the added tang and moisture that the sour cream brings.
For the Cupcakes:
1/2 c vegetable oil
1/2 c unsalted butter (1 stick, room temp)
2 c granulated sugar
3 eggs
2 c all-purpose flour
1 1/2 c cake flour
For the Cupcakes:
1/2 c vegetable oil
1/2 c unsalted butter (1 stick, room temp)
2 c granulated sugar
3 eggs
2 c all-purpose flour
1 1/2 c cake flour
1 tsp salt
1/2 tsp baking soda
2 tsp baking powder
2 tsp apple pie spice (I didn't actually have any this go around, so I just used cinnamon, clove, ginger, and cardamom)
1 1/2 c buttermilk
1 tsp vanilla extract
1. Preheat oven to 350F and prepare 24 cupcake tins with liners (and an extra little cake pan for the extra batter. No batter left behind!)
2. Combine vegetable oil and butter in the bowl of stand mixer fitted with paddle attachment.
3. Gradually add in the granulated sugar and whip until light and fluffy.
4. Add in eggs and vanilla to the sugar mixture.
5. In a separate bowl combine dry ingredients: flour, salt, baking soda, baking powder, and spices.
6. Pour 1/3 of the dry ingredients into the sugar mixture and mix to combine.
7. Pour 1/2 of the buttermilk into sugar mixture and combine.
8. Pour another 1/3 of dry.
9. Pour second 1/2 of buttermilk.
10. Pour in the last 1/3 of the dry ingredients.
11. Put in the sour cream and whip to incorporate.
12. Divide the batter between cupcakes liners. Bake for 18 - 22 minutes or until a toothpick inserted comes out clean.
For the Apple Pie Filling:
4 granny smith apples, peeled and chopped (rather small since it needs to fit into a cupcake)
1/2 c granulated sugar
Juice of half a lemon
1 tbsp corn starch
1/2 tsp salt
A pinch of the following: cinnamon, cloves, ginger, (and I put cardamom as well). I didn't measure these. I added a larger pinch of cinnamon than the others. I'm sorry. I'm the worst. I'll work on it.

1. Combine all ingredients into a pan on medium-low heat. Bring to a boil. Once it's boiling, it will start to thicken. At this point, taste it and see what you think about the flavors. I added a little extra lemon juice. Keep boiling until it gets to a fairly sticky filling- mine took about 7 minutes. This way it won't just soak into the cake. Allow to cool before putting inside the cupcakes.
For the Buttercream:
4 sticks unsalted butter, room temperature
5 1/2 c (ish) powdered sugar, sifted
1 tbsp vanilla
Pinch of salt
1/2 tsp cinnamon *I am gonna be honest here- I didn't measure. I rarely do with cinnamon. This is my best estimate. Put some in and taste it and add more if you need to. That's all I got.
**You could also add a splash of heavy cream to loosen it up if you like. I did not.*
1. Put butter into stand mixer fitted with paddle attachment and start to mix.
2. Slowly incorporate the powdered sugar and cinnamon. *I actually sifted these two together.
3. Add vanilla and salt.
4. Whip until light and fluffy. If you feel like it's too loose, add more sugar. If it feels too tight, add a splash of cream or milk.
Assembly:
1. Take a cooled cupcake and hollow out a hole in the center, just make sure to not go all the way to the bottom. I also pull off the innards and keep the little top hat to put back on once I fill the cupcakes (see below).
2. With a spoon, put some of the apple pie filling into the cupcake and top with your "cake topper".
3. Pipe cinnamon buttercream all over.
1/2 tsp baking soda
2 tsp baking powder
2 tsp apple pie spice (I didn't actually have any this go around, so I just used cinnamon, clove, ginger, and cardamom)
1 1/2 c buttermilk
1 tsp vanilla extract
1. Preheat oven to 350F and prepare 24 cupcake tins with liners (and an extra little cake pan for the extra batter. No batter left behind!)
2. Combine vegetable oil and butter in the bowl of stand mixer fitted with paddle attachment.
3. Gradually add in the granulated sugar and whip until light and fluffy.
4. Add in eggs and vanilla to the sugar mixture.
5. In a separate bowl combine dry ingredients: flour, salt, baking soda, baking powder, and spices.
6. Pour 1/3 of the dry ingredients into the sugar mixture and mix to combine.
7. Pour 1/2 of the buttermilk into sugar mixture and combine.
8. Pour another 1/3 of dry.
9. Pour second 1/2 of buttermilk.
10. Pour in the last 1/3 of the dry ingredients.
11. Put in the sour cream and whip to incorporate.
12. Divide the batter between cupcakes liners. Bake for 18 - 22 minutes or until a toothpick inserted comes out clean.
For the Apple Pie Filling:
4 granny smith apples, peeled and chopped (rather small since it needs to fit into a cupcake)
1/2 c granulated sugar
Juice of half a lemon
1 tbsp corn starch
1/2 tsp salt
A pinch of the following: cinnamon, cloves, ginger, (and I put cardamom as well). I didn't measure these. I added a larger pinch of cinnamon than the others. I'm sorry. I'm the worst. I'll work on it.
1. Combine all ingredients into a pan on medium-low heat. Bring to a boil. Once it's boiling, it will start to thicken. At this point, taste it and see what you think about the flavors. I added a little extra lemon juice. Keep boiling until it gets to a fairly sticky filling- mine took about 7 minutes. This way it won't just soak into the cake. Allow to cool before putting inside the cupcakes.
For the Buttercream:
4 sticks unsalted butter, room temperature
5 1/2 c (ish) powdered sugar, sifted
1 tbsp vanilla
Pinch of salt
1/2 tsp cinnamon *I am gonna be honest here- I didn't measure. I rarely do with cinnamon. This is my best estimate. Put some in and taste it and add more if you need to. That's all I got.
**You could also add a splash of heavy cream to loosen it up if you like. I did not.*
1. Put butter into stand mixer fitted with paddle attachment and start to mix.
2. Slowly incorporate the powdered sugar and cinnamon. *I actually sifted these two together.
3. Add vanilla and salt.
4. Whip until light and fluffy. If you feel like it's too loose, add more sugar. If it feels too tight, add a splash of cream or milk.
Assembly:
1. Take a cooled cupcake and hollow out a hole in the center, just make sure to not go all the way to the bottom. I also pull off the innards and keep the little top hat to put back on once I fill the cupcakes (see below).
2. With a spoon, put some of the apple pie filling into the cupcake and top with your "cake topper".
Monday, January 6, 2020
Lemon Coconut Shortbread Cookies
Spoiler alert- these are dairy free! Yes, I said dairy free, and completely delicious. I wanted to play around with a vegan cookie option because I know several vegans, and my belly prefers vegan options as well (although I was told they're not completely vegan because my sugar isn't vegan.. so if that's something that is a deal breaker for you, buy your vegan sugar and still enjoy this recipe). These are still sandy shortbread that melt in your mouth with a punch of tropical flavor. They are also pretty easy. This recipe made 12 BIG cookies or 24 normal sized cookies. You could do smaller and thinner cookies, but I was lazy and no one is mad at a bigger cookie. I am going to give you the weights here because I was doing a shortbread ratio of 1-2-3 by weight. I will also try to give you the approximate cups, but it is really just easier to pour into a bowl and weigh it in my opinion.
For the cookies:
100 grams granulated sugar (1/2 c)
200 grams coconut oil (about 1 c), solid (so room temp)
300 grams all-purpose flour (2 1/2 c)- *I used less the second time and they were better- about 2 1/4 c flour; it was easier to roll out and work with.
1 tsp baking powder
1 tsp vanilla extract
Juice and zest of 1 lemon
1/4 tsp salt
1/2 c toasted coconut *I used sweetened coconut flakes and toasted on the stove in a dry skillet for about 2 mins- watch this because it'll burn real fast.*
1. Preheat oven to 350F.
2. Put sugar and coconut oil into a stand mixer fitted with paddle attachment and mix to incorporate.
3. Add vanilla extract, lemon zest, and juice to bowl and mix.
4. Combine dry ingredients (flour, baking powder, and salt) into a small bowl and mix to combine. Slowly incorporate into the wet batter until course crumbles form.
5. Add coconut flakes.
6. Dust a clean surface with flour and turn the dough out onto the surface. Work until it forms a ball- this is the hard part. *I have also tried to let it sit in the fridge after forming into a ball like a regular sugar cookie, and this was not the way to go. Keep it at room temp so that the coconut oil helps to keep these babies together.* See the cracking? Yeah- irritating, but the more you work it, the more it comes together. I promise. *And like I said, if you use a little less flour, it holds together MUCH better.
7. Flour a rolling pin and gently roll out to 1/4 to 1/2 inch thickness- mine were more like 1/2 inch. I wasn't mad at that though.
8. Take a spatula to transport onto a baking sheet lined with parchment paper.
9. Bake for 12 - 14 minutes if they're thinner and 16 - 18 minutes if they're thicker. They are still going to be light in color when they come out of the oven. *mine took 18 minutes*
10. Allow to cool on a wire rack before topping with glaze. *Look at those flecks of lemon zest and coconut!
For the glaze:
Zest of 1 lemon
Juice of 2 lemons
1 c (ish) powdered sugar, sifted *If you are doing the drizzle, this is fine; if you want the full glaze, I put even more powdered sugar in to thicken it a bit.
1. Put lemon zest and juice in a bowl.
2. Whisk in the sifted powdered sugar until you get the consistency you want. *Yes, you do really want to sift it* **This is not an exact science- I added sugar until it was thick but still pourable. ***You can't mess it up! If it isn't thick enough, add more sugar. If it's too thick, add more lemon juice. If you run out of lemons, add a bit of water.
3. Drizzle glaze on top of cooled cookies. You could also dunk them- they are super delicate though, so be careful!
For the cookies:
100 grams granulated sugar (1/2 c)
200 grams coconut oil (about 1 c), solid (so room temp)
300 grams all-purpose flour (2 1/2 c)- *I used less the second time and they were better- about 2 1/4 c flour; it was easier to roll out and work with.
1 tsp baking powder
1 tsp vanilla extract
Juice and zest of 1 lemon
1/4 tsp salt
1/2 c toasted coconut *I used sweetened coconut flakes and toasted on the stove in a dry skillet for about 2 mins- watch this because it'll burn real fast.*
1. Preheat oven to 350F.
2. Put sugar and coconut oil into a stand mixer fitted with paddle attachment and mix to incorporate.
3. Add vanilla extract, lemon zest, and juice to bowl and mix.
4. Combine dry ingredients (flour, baking powder, and salt) into a small bowl and mix to combine. Slowly incorporate into the wet batter until course crumbles form.
5. Add coconut flakes.
6. Dust a clean surface with flour and turn the dough out onto the surface. Work until it forms a ball- this is the hard part. *I have also tried to let it sit in the fridge after forming into a ball like a regular sugar cookie, and this was not the way to go. Keep it at room temp so that the coconut oil helps to keep these babies together.* See the cracking? Yeah- irritating, but the more you work it, the more it comes together. I promise. *And like I said, if you use a little less flour, it holds together MUCH better.
7. Flour a rolling pin and gently roll out to 1/4 to 1/2 inch thickness- mine were more like 1/2 inch. I wasn't mad at that though.
8. Take a spatula to transport onto a baking sheet lined with parchment paper.
9. Bake for 12 - 14 minutes if they're thinner and 16 - 18 minutes if they're thicker. They are still going to be light in color when they come out of the oven. *mine took 18 minutes*
10. Allow to cool on a wire rack before topping with glaze. *Look at those flecks of lemon zest and coconut!
For the glaze:
Zest of 1 lemon
Juice of 2 lemons
1 c (ish) powdered sugar, sifted *If you are doing the drizzle, this is fine; if you want the full glaze, I put even more powdered sugar in to thicken it a bit.
1. Put lemon zest and juice in a bowl.
2. Whisk in the sifted powdered sugar until you get the consistency you want. *Yes, you do really want to sift it* **This is not an exact science- I added sugar until it was thick but still pourable. ***You can't mess it up! If it isn't thick enough, add more sugar. If it's too thick, add more lemon juice. If you run out of lemons, add a bit of water.
3. Drizzle glaze on top of cooled cookies. You could also dunk them- they are super delicate though, so be careful!
Monday, December 9, 2019
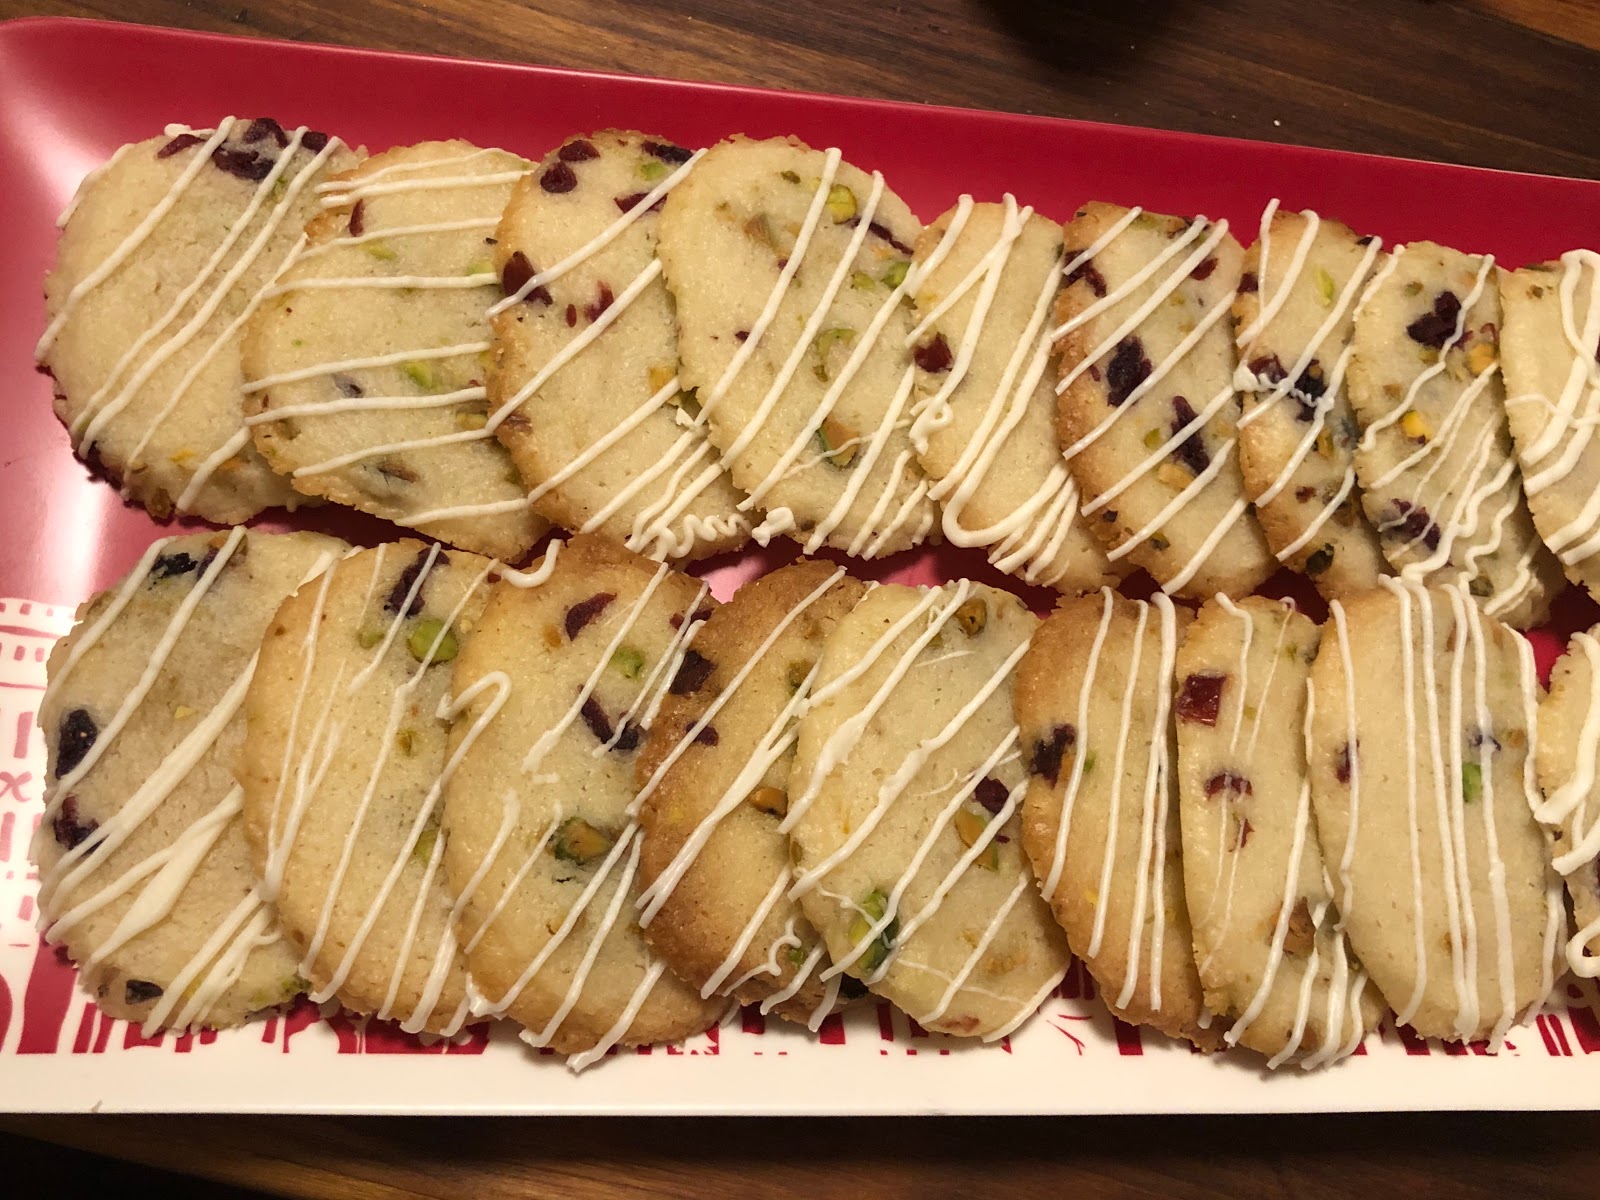
Cranberry Pistachio Shortbread Cookies
These little babies are the most festive things ever, and they're not even trying! These cookies are a crumbly shortbread, that melts in your mouth, filled with salty pistachios and sweet chunks of dried cranberries. Optional, you can drizzle some chocolate on them, which I did, but it's totally not even necessary! Also, these are legit, the easiest recipe in the world.
For the Cookies:
1 c unsalted butter, room temp (2 sticks)
1/2 c granulated sugar
1 3/4 c all-purpose flour
3/4 tsp salt
1/2 c chopped pistachios
1/2 c dried cranberries (I didn't really measure this, so this is my best estimate- it was roughly the same as the pistachios that I DID measure. I mostly just poured until it looked right).
1. Combine butter and sugar in a stand mixer fitted with a paddle attachment.
2. Slowly add in salt and flour. The dough will look a little crumbly, but should stick together well when you press it with your hands.
3. Add in pistachios and cranberries and mix by hand so that you don't demolish the nuts and cranberries.
4. Turn out onto a clean, floured surface. Roll into a log. Wrap it in plastic wrap and set in the fridge for half an hour to an hour so that it firms up.
5. Preheat oven to 375F and line baking sheets with parchment paper.
6. Take out and slice into 1/3 - 1/2 inch slices. Place on baking sheet and baking for about 8 - 10 minutes, or until the edges just get slightly golden brown. **The second time I made these, I put too many fillings in (like that's even a thing), so when I cut the log, it crumbled. I just rolled them back into balls and flattened them. They were great still! They just needed a little more time in the oven because they were thicker. What I'm saying is, you can't mess these up!
7. Once cooled, you can also melt some dark and/or white chocolate, put it in a ziploc bag with the corner cut off, and drizzle to your heart's content!
For the Cookies:
1 c unsalted butter, room temp (2 sticks)
1/2 c granulated sugar
1 3/4 c all-purpose flour
3/4 tsp salt
1/2 c chopped pistachios
1/2 c dried cranberries (I didn't really measure this, so this is my best estimate- it was roughly the same as the pistachios that I DID measure. I mostly just poured until it looked right).
1. Combine butter and sugar in a stand mixer fitted with a paddle attachment.
2. Slowly add in salt and flour. The dough will look a little crumbly, but should stick together well when you press it with your hands.
3. Add in pistachios and cranberries and mix by hand so that you don't demolish the nuts and cranberries.
4. Turn out onto a clean, floured surface. Roll into a log. Wrap it in plastic wrap and set in the fridge for half an hour to an hour so that it firms up.
5. Preheat oven to 375F and line baking sheets with parchment paper.
6. Take out and slice into 1/3 - 1/2 inch slices. Place on baking sheet and baking for about 8 - 10 minutes, or until the edges just get slightly golden brown. **The second time I made these, I put too many fillings in (like that's even a thing), so when I cut the log, it crumbled. I just rolled them back into balls and flattened them. They were great still! They just needed a little more time in the oven because they were thicker. What I'm saying is, you can't mess these up!
7. Once cooled, you can also melt some dark and/or white chocolate, put it in a ziploc bag with the corner cut off, and drizzle to your heart's content!
Monday, November 25, 2019
Thanksgiving Hot Water Crust Pie
Ricky and I are celebrating our Thanksgiving early since he has to work on Turkey Day. We decided to make a meat pie filled with all the goodness of Thanksgiving. Now, since we were making this before Thanksgiving, we made all the food for the inside of the pie the night beforehand, but this is the ultimate way to use your leftovers from the big day as well!
We used turkey breast, stove top stuffing (yes, it's in a box, and yes it's my favorite - step off), gravy, and mashed potatoes. Like I said though, you do you, boo. What you got left over? Green bean casserole? Okay, throw it in there. Cranberry sauce? Done. Sweet potato casserole? I'm not mad at that.
Let me tell you about how we prepared our innards in case you are making this on a day that's not the day after Thanksgiving, like us. As I stated earlier, we made the innards the day before, and then we made the crust and assembled on the day of feasting.
For the Turkey:
2 pounds turkey breast? **We got an 8 pound turkey breast because that's what Aldi had, and it was a good sale. We used like 1/4 - 1/3 of the meat we had.**
Salt *a generous amount*
Pepper
Fresh Rosemary
A lemon (again,, this is if you have a whole on-bone turkey breast)
1. Preheat oven to 350F. Prepare a baking sheet with aluminum foil.
2. If you got a giant turkey breast like us, still on the bone, pat dry and generously slather with olive oil. Salt and pepper the outside.
3. Fill the cavity of the bird with fresh rosemary and a lemon cut in half.
4. If you didn't buy a giant turkey breast, you can just oil, salt and pepper, and finely chop the rosemary and sprinkle it over the skin.
5. Bake the turkey for about 2 hours if you have 8 pounds of it.... but you're looking for it to be at an internal temp of 165F no matter what size you have. For a big guy like ours, we took it out at about 155F and let it rest up to the correct temperature, about 45 mins to an hour.
6. Once cooled enough to handle, cut into chunks. We put ours in the fridge overnight because I couldn't be bothered to make all of this AND the pie in one night.
7. If there's any juices in the pan, drain off into a mason jar and keep in the fridge for gravy tomorrow.
For the Gravy:
..... I used a packet of gravy mix. Don't judge me... There was a lot going on.
1 packet of gravy mix
Juices from your turkey + enough water to make 1 cup
1. Pour gravy packet and juices and water in a small saucepan and bring to a boil. Allow to cook for about a minute, and then turn off until assembly. You can also jazz it up with any other spices you like.
For the Stuffing:
I'm not writing this out- buy a box of stuffing. Follow directions. You'll need butter.
For the Mashed Potatoes:
3 large-ish russet potatoes
1 c-ish whole milk
1 stick unsalted butter (shut up, it's Thanksgiving- these are free calories)
1/3 packet of ranch seasoning
Salt and pepper to taste
1. Peel potatoes and cut into 1 inch pieces (this just makes them cook faster). Put them in a pot with cold water (until covering potatoes) and add a lot of salt.
2. Bring to a boil and let cook until fork tender. Drain and set aside.
3. If you're us, we put the potatoes in the fridge once they were cooled and finished the mashing process the next day.
4. Put potatoes back in the pot and add milk, butter, and seasonings. *this is true whether you have cold potatoes or hot. **if they're cold, heat everything together until warm.
5. Mash with your favorite method. *We did a hand mixer so they were creamy.
6. Taste and add additional spices if need be.
For the Hot Water Crust:
I used the recipe I have used before from this Guinness meat and mushroom pie.
300 g unsalted butter (a little less than 3 sticks- 21.5 tablespoons)
1 1/3 c water
1 tsp salt
5 c all-purpose flour
1. Preheat oven to 400F. Have a springform pan on deck. *I used a 9 inch, but I have also done this in an 8 inch springform.
2. Put water, salt, and butter in a saucepan and bring to a boil.
3. While that's coming to a boil, but flour in a large heat-safe bowl and clean off your counter so that you can knead dough on it.
4. Once water mixture comes to a boil, make a well in flour and start to pour in, mixing as you go.
5. Once it is all combined, turn out onto counter.
6. Knead dough for about 10 - 15 minutes until it gets shiny and holds together better.
7. This is how it looks in the middle of the kneading process- see how it's still pulling apart?
8. Pull off about 1/3 of the dough and set aside for the top of the crust.
9. Roll out the larger piece so that it is big enough to cover the bottom and sides of the pan. *I kept grabbing my pan and seeing if it was large enough.
11. Transfer to the pan and press into the bottom and up the sides of the pan. It's okay if it falls apart a little- just shove it back together.
12. Roll out the top of the pie crust just so it's slightly bigger than the pan. Set aside.
Assembly:
1. Take prepared pan with dough in it. Add a layer of stuffing (or whatever you have).
2. Add second layer of goodness- for us it was turkey and gravy.
3. Add third layer- this was mashed potatoes for us.

4. If you got more stuff, keep adding.
5. Once done layering, add the top pie crust. Tear off excess and press top crust into the side crust to form a seal. Don't press it over the pan, otherwise you'll destroy it when trying to get it out of the pan.
6. In a small bowl, take an egg and beat it with a splash of water. Brush onto the top of the crust. This will help browning. If you don't have an egg, you can also do this with milk or heavy cream.
7. Cut slits in the top for venting. Bake for about 50 minutes or until the crust is golden brown.
8. Allow to cool. This is like the fires of hell hot, so at least 20 - 25 minutes.
9. Release from the pan.
10. Cut and serve with extra gravy (or cranberry sauce).
11. Fall into a turkey coma.
We used turkey breast, stove top stuffing (yes, it's in a box, and yes it's my favorite - step off), gravy, and mashed potatoes. Like I said though, you do you, boo. What you got left over? Green bean casserole? Okay, throw it in there. Cranberry sauce? Done. Sweet potato casserole? I'm not mad at that.
Let me tell you about how we prepared our innards in case you are making this on a day that's not the day after Thanksgiving, like us. As I stated earlier, we made the innards the day before, and then we made the crust and assembled on the day of feasting.
For the Turkey:
2 pounds turkey breast? **We got an 8 pound turkey breast because that's what Aldi had, and it was a good sale. We used like 1/4 - 1/3 of the meat we had.**
Salt *a generous amount*
Pepper
Fresh Rosemary
A lemon (again,, this is if you have a whole on-bone turkey breast)
1. Preheat oven to 350F. Prepare a baking sheet with aluminum foil.
2. If you got a giant turkey breast like us, still on the bone, pat dry and generously slather with olive oil. Salt and pepper the outside.
3. Fill the cavity of the bird with fresh rosemary and a lemon cut in half.
4. If you didn't buy a giant turkey breast, you can just oil, salt and pepper, and finely chop the rosemary and sprinkle it over the skin.
5. Bake the turkey for about 2 hours if you have 8 pounds of it.... but you're looking for it to be at an internal temp of 165F no matter what size you have. For a big guy like ours, we took it out at about 155F and let it rest up to the correct temperature, about 45 mins to an hour.
6. Once cooled enough to handle, cut into chunks. We put ours in the fridge overnight because I couldn't be bothered to make all of this AND the pie in one night.
7. If there's any juices in the pan, drain off into a mason jar and keep in the fridge for gravy tomorrow.
For the Gravy:
..... I used a packet of gravy mix. Don't judge me... There was a lot going on.
1 packet of gravy mix
Juices from your turkey + enough water to make 1 cup
1. Pour gravy packet and juices and water in a small saucepan and bring to a boil. Allow to cook for about a minute, and then turn off until assembly. You can also jazz it up with any other spices you like.
For the Stuffing:
I'm not writing this out- buy a box of stuffing. Follow directions. You'll need butter.
For the Mashed Potatoes:
3 large-ish russet potatoes
1 c-ish whole milk
1 stick unsalted butter (shut up, it's Thanksgiving- these are free calories)
1/3 packet of ranch seasoning
Salt and pepper to taste
1. Peel potatoes and cut into 1 inch pieces (this just makes them cook faster). Put them in a pot with cold water (until covering potatoes) and add a lot of salt.
2. Bring to a boil and let cook until fork tender. Drain and set aside.
3. If you're us, we put the potatoes in the fridge once they were cooled and finished the mashing process the next day.
4. Put potatoes back in the pot and add milk, butter, and seasonings. *this is true whether you have cold potatoes or hot. **if they're cold, heat everything together until warm.
5. Mash with your favorite method. *We did a hand mixer so they were creamy.
6. Taste and add additional spices if need be.
For the Hot Water Crust:
I used the recipe I have used before from this Guinness meat and mushroom pie.
300 g unsalted butter (a little less than 3 sticks- 21.5 tablespoons)
1 1/3 c water
1 tsp salt
5 c all-purpose flour
1. Preheat oven to 400F. Have a springform pan on deck. *I used a 9 inch, but I have also done this in an 8 inch springform.
2. Put water, salt, and butter in a saucepan and bring to a boil.
3. While that's coming to a boil, but flour in a large heat-safe bowl and clean off your counter so that you can knead dough on it.
4. Once water mixture comes to a boil, make a well in flour and start to pour in, mixing as you go.
5. Once it is all combined, turn out onto counter.
6. Knead dough for about 10 - 15 minutes until it gets shiny and holds together better.
8. Pull off about 1/3 of the dough and set aside for the top of the crust.
9. Roll out the larger piece so that it is big enough to cover the bottom and sides of the pan. *I kept grabbing my pan and seeing if it was large enough.
12. Roll out the top of the pie crust just so it's slightly bigger than the pan. Set aside.
Assembly:
1. Take prepared pan with dough in it. Add a layer of stuffing (or whatever you have).
2. Add second layer of goodness- for us it was turkey and gravy.
3. Add third layer- this was mashed potatoes for us.
4. If you got more stuff, keep adding.
5. Once done layering, add the top pie crust. Tear off excess and press top crust into the side crust to form a seal. Don't press it over the pan, otherwise you'll destroy it when trying to get it out of the pan.
6. In a small bowl, take an egg and beat it with a splash of water. Brush onto the top of the crust. This will help browning. If you don't have an egg, you can also do this with milk or heavy cream.
7. Cut slits in the top for venting. Bake for about 50 minutes or until the crust is golden brown.
8. Allow to cool. This is like the fires of hell hot, so at least 20 - 25 minutes.
9. Release from the pan.
10. Cut and serve with extra gravy (or cranberry sauce).
11. Fall into a turkey coma.
Sunday, November 17, 2019
Rosemary Parmesan Shortbread
For the shortbread:
2 sticks of butter, unsalted, room temp
1 3/4 c all-purpose flour
2 oz (ish) grated parmesan cheese *buy the block, grate it yourself **I say ish because I think I added more, because it's kinda like vanilla, and we measure cheese with our hearts
2 tbsp fresh rosemary, chopped
1 tsp salt
1/8 tsp cayenne
Pinch of black pepper
1. Preheat oven to 350F and line a baking sheet with parchment.
2. In a large bowl, mix all ingredients to combine.
3. Turn dough out onto parchment and press down with hands until you have a rectangle that's about 1/4 inch thick. *The second time, I did take the parchment off the baking sheet, roll with the rolling pin, and then put the parchment back on the sheet. **Also, I say rectangle loosely. You'll be cutting them anyway, and the excess is a great chef snack!
4.** What I didn't do that I will do next time is go ahead and cut these into squares with a knife or a bench scraper before I bake them so that they resemble neat little crackers. I didn't do this the first time, and they are delicious, but crumbly when you cut.
4. Bake in the oven for about 20 - 25 minutes or until the top is lightly golden. *If you cut them into smaller squares, the baking time will probably be faster. I will update when I make again!
5. If you didn't cut beforehand, when then come out of the oven, immediately cut into squares. Allow to cool completely before you eat.
Bonus round (Savory Tart):
Use recipe above for the crust, and then you'll need:
6 oz Italian sausage *I used hot Italian sausage
2 white onions
1/4 c fresh parsley, chopped
1/2 c grated parmesan (you should have leftovers from the block anyway)
1 1/2 c (ish) shredded mozzarella
1 clove garlic
*Optional additions- a pinch of red pepper flake and worchestershire sauce
1. Preheat oven to 375F.
2.Take your shortbread dough and press it into the bottom of a tart pan or pie pan. Par bake for about 10 - 15 minutes just so that it starts to set up. It will finish cooking with the innards later.
3. In a pan, cook the sausage on medium heat and then remove to a bowl to use later.
4. Chop onions into half moons (like strips, cut the onion in half and then just cut strips... you get what I'm going for right?). Add to the pan that the sausage was cooked in. Add a bit of salt, pepper, and oil. Turn down to a lower heat and allow to caramelize. This does take a bit. I also added a bit of worchestershire, but like I said, that's optional.
5. Combine sausage, onions, cheeses, and parsley in a bowl. Reserve a bit of cheese for the top of the tart.
6. Put all ingredients in the tart pan on top of the par-baked shortbread dough. Top with reserved cheese.
7. Bake in the oven for about 30 minutes or until the crust and the top are lightly golden.
8. Allow to cool for about 15 - 20 minutes before digging in or you will burn everything like I did. I have little patience. This should come as no surprise.
Wednesday, November 6, 2019
Spice Cake with Cinnamon Buttercream
It's November, and that's the perfect time for all things spice. This is another recipe that I decided to make because I am still trying to perfect a "white cake" recipe, aka a non-chocolate cake, and tis the season to have copious amounts of cinnamon in everything, so here we are. This recipe makes three 8-inch round cakes OR 24 cupcakes with a bit extra. I chose cupcakes for this one so that I could shove them full of fig marmalade. No regrets.
For the Cake:
1/3 c vegetable oil
1 stick unsalted butter, room temperature
3 eggs
2 c granulated sugar
2 c all purpose flour
1 1/2 c cake flour
For the Cake:
1/3 c vegetable oil
1 stick unsalted butter, room temperature
3 eggs
2 c granulated sugar
2 c all purpose flour
1 1/2 c cake flour
1 1/2 c buttermilk
1 tsp salt
1 1/2 tsp baking soda
2 tsp baking powder
1 tsp vanilla
3/4 tsp cinnamon
1/4 tsp ground cloves
1/4 tsp ground ginger
1. Preheat oven to 350F and prepare 24 cupcake tins with liners (and an extra little cake pan for the extra batter. No batter left behind!)
2. Combine vegetable oil and butter in the bowl of stand mixer fitted with paddle attachment.
3. Gradually add in the granulated sugar and whip until light and fluffy.
4. Add in eggs and vanilla to the sugar mixture.
5. In a separate bowl combine dry ingredients: flour, salt, baking soda, baking powder, and spices.
6. Pour 1/3 of the dry ingredients into the sugar mixture and mix to combine.
7. Pour 1/2 of the buttermilk into sugar mixture and combine.
8. Pour another 1/3 of dry.
9. Pour second 1/2 of buttermilk.
10. Pour in the last 1/3 of the dry ingredients.
11. Divide the batter between cupcakes liners. Bake for 18 - 22 minutes or until a toothpick inserted comes out clean.
For the Buttercream:
3 sticks unsalted butter, room temperature
4 c (ish) powdered sugar, sifted
1 tbsp vanilla
Pinch of salt
1/2 tsp cinnamon *I am gonna be honest here- I didn't measure. I rarely do with cinnamon. This is my best estimate. Put some in and taste it and add more if you need to. That's all I got.
**You could also add a splash of heavy cream to loosen it up if you like. I did not.*
1. Put butter into stand mixer fitted with paddle attachment and start to mix.
2. Slowly incorporate the powdered sugar and cinnamon. *I actually sifted these two together.
3. Add vanilla and salt.
4. Whip until light and fluffy. If you feel like it's too loose, add more sugar. If it feels too tight, add a splash of cream or milk.
5. Slather on everything. Everything.
Assembly:
1. Take the cooled cupcakes and hollow out a hole in the center, making sure not to go all the way to the bottom of the cupcake. Put your favorite fig marmalade in a piping bag and cut off the tip. *You could also use like a pumpkin or apple butter here. That would be delicious. Or like an apple pie filling. Oh man, now I want apple pie.
2. Pipe the marmalade into each cupcake. I took the piece that I cut out of the cupcake and just took the very top and put it back on top of the jam so that it's easier to frost.
3. Pipe or scoop buttercream onto each cupcake- I scooped here and swirled with an offset spatula. These have a rustic feel to me, but you could jazz them up for the holidays easily.
4. Make some coffee and sit on your couch with a warm blanket and eat at least 3 in a row to make sure they're just right before you serve them to your guests. Quality control people.
1 tsp salt
1 1/2 tsp baking soda
2 tsp baking powder
1 tsp vanilla
3/4 tsp cinnamon
1/4 tsp ground cloves
1/4 tsp ground ginger
1. Preheat oven to 350F and prepare 24 cupcake tins with liners (and an extra little cake pan for the extra batter. No batter left behind!)
2. Combine vegetable oil and butter in the bowl of stand mixer fitted with paddle attachment.
3. Gradually add in the granulated sugar and whip until light and fluffy.
4. Add in eggs and vanilla to the sugar mixture.
5. In a separate bowl combine dry ingredients: flour, salt, baking soda, baking powder, and spices.
6. Pour 1/3 of the dry ingredients into the sugar mixture and mix to combine.
7. Pour 1/2 of the buttermilk into sugar mixture and combine.
8. Pour another 1/3 of dry.
9. Pour second 1/2 of buttermilk.
10. Pour in the last 1/3 of the dry ingredients.
11. Divide the batter between cupcakes liners. Bake for 18 - 22 minutes or until a toothpick inserted comes out clean.
For the Buttercream:
3 sticks unsalted butter, room temperature
4 c (ish) powdered sugar, sifted
1 tbsp vanilla
Pinch of salt
1/2 tsp cinnamon *I am gonna be honest here- I didn't measure. I rarely do with cinnamon. This is my best estimate. Put some in and taste it and add more if you need to. That's all I got.
**You could also add a splash of heavy cream to loosen it up if you like. I did not.*
1. Put butter into stand mixer fitted with paddle attachment and start to mix.
2. Slowly incorporate the powdered sugar and cinnamon. *I actually sifted these two together.
3. Add vanilla and salt.
4. Whip until light and fluffy. If you feel like it's too loose, add more sugar. If it feels too tight, add a splash of cream or milk.
5. Slather on everything. Everything.
Assembly:
1. Take the cooled cupcakes and hollow out a hole in the center, making sure not to go all the way to the bottom of the cupcake. Put your favorite fig marmalade in a piping bag and cut off the tip. *You could also use like a pumpkin or apple butter here. That would be delicious. Or like an apple pie filling. Oh man, now I want apple pie.
2. Pipe the marmalade into each cupcake. I took the piece that I cut out of the cupcake and just took the very top and put it back on top of the jam so that it's easier to frost.
3. Pipe or scoop buttercream onto each cupcake- I scooped here and swirled with an offset spatula. These have a rustic feel to me, but you could jazz them up for the holidays easily.
4. Make some coffee and sit on your couch with a warm blanket and eat at least 3 in a row to make sure they're just right before you serve them to your guests. Quality control people.
Wednesday, October 23, 2019
Strawberries and Cream Macarons
I don't know if you can tell, but I'm on a macaron kick. Once you figure out these persnickety bitches, well you feel like you've conquered something and you want to make them over and over again. It also helps that they're delicious and bite-sized, so you can just pop one in your mouth every time you go in the kitchen. I made these with my friend and fellow baker, Liz. We did a double batch, so I will tell you those measurements (with the weights in case you want to do more or less). This recipe makes about 48 macarons (96 shells- they're sandwich cookies).
For the Shells:
132 g egg whites (4 eggs for me) *if you recall from the lemon macarons, this is your base number, so everything else you can measure based off of this.*
198 g almond flour (1.5 amount of egg whites)
105 g granulated sugar (0.8 egg whites)
198 g powdered sugar (1.5 part egg whites)
1/4 tsp cream of tartar
1 tsp vanilla
For the Shells:
132 g egg whites (4 eggs for me) *if you recall from the lemon macarons, this is your base number, so everything else you can measure based off of this.*
198 g almond flour (1.5 amount of egg whites)
105 g granulated sugar (0.8 egg whites)
198 g powdered sugar (1.5 part egg whites)
1/4 tsp cream of tartar
1 tsp vanilla
*a dash of red food coloring if you want a more "strawberry" look
1. Prepare a piping bag with a large round tip and set aside. Line baking sheet with silpat mat or parchment. *You will want to draw a circle template to pipe your macarons on to if you're using parchment;**You'll need at least four baking sheets with the parchment ***If you plan to make a lot of macarons, just invest in some mats. I bought mine on amazon for like 12 bucks for 2 mats.
2. In a stand mixer fitted with whisk attachment, start mixing egg whites. Don't mix them on too high of a speed (no higher than 6 on a kitchenaid). While this starts out, move to the second step.
3 c powdered sugar
2 sticks unsalted butter, room temperature
1/3 c crushed dehydrated strawberries
Zest of one lemon
Pinch of salt
1 tbsp strawberry jam *You will also use strawberry jam in the center of these macarons as well.
1. Prepare two piping bags- one with a star tip and another with a small circular
piping tip.
2. Crush dehydrated strawberries and sift together with powdered sugar in a large bowl.
3. In a stand mixer fitted with paddle attachment, start whipping up butter. Slowly add powdered sugar mixture to the butter, incorporating before adding more.
4. Add salt, lemon zest, and strawberry jam and mix until fully incorporated. Place in the piping bag with star tip.
5. In other piping bag, place some of the strawberry jam.
Assembly
1. Take one shell and pipe a ring of buttercream around the edge. Be careful here- you don't want to overdo it on the filling.
2. Plop a little dollop of jam in the middle of the buttercream ring.
3. Add the top shell and gently push together.
4. Store in an airtight container. *Others say to put it in the fridge, but I don't It doesn't need to be refrigerated, and I like the texture better when they're not refrigerated, but you do you, boo.
1. Prepare a piping bag with a large round tip and set aside. Line baking sheet with silpat mat or parchment. *You will want to draw a circle template to pipe your macarons on to if you're using parchment;**You'll need at least four baking sheets with the parchment ***If you plan to make a lot of macarons, just invest in some mats. I bought mine on amazon for like 12 bucks for 2 mats.
2. In a stand mixer fitted with whisk attachment, start mixing egg whites. Don't mix them on too high of a speed (no higher than 6 on a kitchenaid). While this starts out, move to the second step.
3. Weigh out almond flour and powdered sugar. Sift together into a large bowl and set aside.
4. Once egg whites have started to foam up, add cream of tartar.
5. Slowly add granulated sugar to the egg whites and keep mixing until egg whites get to a stiff peak.
6. Add vanilla to the egg whites and allow to incorporate.
7. Fold half the dry ingredients into the egg whites. You don't have to be gentle here. You think you do because it's egg whites, but you don't. Mix that shit.
8. Fold second half of dry ingredients into the mixture. Here you can be a bit more gentle. You are going to mix for a while until the mixture gets shiny and the batter ribbons back onto itself. If the ribbons incorporate back into the rest of the batter within 20 seconds or so, you should be okay.
9. Pour batter into prepared piping bag and pipe onto the circles of your sil pat or parchment. Don't draw around the circle; just pipe directly down until it fills the circle.
10. Slam the baking sheet on the counter several times to get rid of air bubbles.
11. Allow to sit at room temperature until they are matte and don't stick to your finger when you try to touch them gently. This can take 20 minutes if it's not humid, or an hour if it's June in the midwest when you're making them...
12. Towards the end of your sitting, you can preheat oven to 350F.
13. Once you are ready to bake, drop the oven to 325F and bake for 12-14 minutes (but check at 10 mins). You can check by placing your finger on a shell and gently moving it back and forth. If the shell moves, it is still not baked enough. Once the shell stays on its base, they're done. **ONLY BAKE ONE TRAY AT AT TIME!** I tried to do more than one, but then my shells cracked. I did the same batter but one tray at a time, and it worked. I mean, you can do more than one, but don't come at me if it doesn't work, but feel free to say "I told you so" if it works out totally fine for you.
14. Allow to cool completely before filling.
For the filling:8. Fold second half of dry ingredients into the mixture. Here you can be a bit more gentle. You are going to mix for a while until the mixture gets shiny and the batter ribbons back onto itself. If the ribbons incorporate back into the rest of the batter within 20 seconds or so, you should be okay.
9. Pour batter into prepared piping bag and pipe onto the circles of your sil pat or parchment. Don't draw around the circle; just pipe directly down until it fills the circle.
10. Slam the baking sheet on the counter several times to get rid of air bubbles.
11. Allow to sit at room temperature until they are matte and don't stick to your finger when you try to touch them gently. This can take 20 minutes if it's not humid, or an hour if it's June in the midwest when you're making them...
12. Towards the end of your sitting, you can preheat oven to 350F.
13. Once you are ready to bake, drop the oven to 325F and bake for 12-14 minutes (but check at 10 mins). You can check by placing your finger on a shell and gently moving it back and forth. If the shell moves, it is still not baked enough. Once the shell stays on its base, they're done. **ONLY BAKE ONE TRAY AT AT TIME!** I tried to do more than one, but then my shells cracked. I did the same batter but one tray at a time, and it worked. I mean, you can do more than one, but don't come at me if it doesn't work, but feel free to say "I told you so" if it works out totally fine for you.
14. Allow to cool completely before filling.
3 c powdered sugar
2 sticks unsalted butter, room temperature
1/3 c crushed dehydrated strawberries
Zest of one lemon
Pinch of salt
1 tbsp strawberry jam *You will also use strawberry jam in the center of these macarons as well.
1. Prepare two piping bags- one with a star tip and another with a small circular
piping tip.
2. Crush dehydrated strawberries and sift together with powdered sugar in a large bowl.
4. Add salt, lemon zest, and strawberry jam and mix until fully incorporated. Place in the piping bag with star tip.
5. In other piping bag, place some of the strawberry jam.
Assembly
1. Take one shell and pipe a ring of buttercream around the edge. Be careful here- you don't want to overdo it on the filling.
2. Plop a little dollop of jam in the middle of the buttercream ring.
4. Store in an airtight container. *Others say to put it in the fridge, but I don't It doesn't need to be refrigerated, and I like the texture better when they're not refrigerated, but you do you, boo.
Subscribe to:
Posts (Atom)
Dark Chocolate Torte (GF)
This is a twist on a recipe from an Indigenous cookbook called "Seed to Plate, Soil to Sky" our friend group cooked out of for Co...
-
These are an oldie, but a goodie. I have been trying to get my freaking cookie recipes down, and I think I finally got this one! These are c...
-
People who like cakey brownies are wrong. There, I said it. If you want a cakey brownie, eat some freaking cake. I feel better now with t...