
An entire day devoted to eating one of my favorite things of all time. For this momentous occasion, I decided to make a smore's pie. Not just any smore's pie, but a pie with a homemade graham cracker crust- a giant crust of graham cookie. A pie filled with chocolate ganache. A pie topped with homemade marshmallow. A pie torched to have a nice little campfire afterglow. Can you tell I'm excited? No? Well just you wait!
One side note, this is a bit time consuming- most of it is the amount of time you have to wait. This is NOT a make the same day you want to eat it pie- the marshmallows need like 8 - 24 hours to set up before eating, so there's that. Make it the day before and then try to wait patiently... It's hard.
For the Graham Crust:
 Now, I have made homemade grahams before, and you can see that post here, but I also made a few modifications. I don't think I made these modifications because I was putting it in a pie, but because the grahams are kind of a bitch, and this is easier. So, here is the original recipe, and I will let you know the changes I made as we go.
1 1/2 c all-purpose flour
1 1/2 c whole wheat flour
3/4 c brown sugar
1 tsp baking soda
1 tsp cinnamon
1/2 tsp salt
3/4 c unsalted butter, cold
1/3 c honey
1 tsp vanilla extract
5 tbsp (ish) heavy cream (or milk is fine) *Yes, this is still true, but I did like 6 or 7 tbsp to help hold it together a bit more. Did a lose a smidge of the flakiness? Yes. Was it so much easier that I really don't care? Also, yes.
1. Combine flour, sugar, baking soda, cinnamon, and salt in large bowl. *You can also do this in a food processor, but mine is tiny, so here we are.
2. Grate in butter and combine until a coarse meal texture. *Grating makes the butter into smaller pieces, and it is easier to combine. **If you are using a food processor, just pulse in your cubed butter until coarse meal.

4. Add in heavy cream. Start with 4 tbsp and see how it is. You are looking to have your mixture just come together. It is a little dry, but it should stick together when you press it in your hand. It may take more or less cream depending on the humidity. It takes me generally 5 tbsp (ish). *Again, I added more this time. Follow your heart.
5. Turn out dough onto a clean surface. Work the dough to combine (but try to work it as little as possible). Divide dough into two parts and pat into two rectangles. Wrap in plastic wrap and allow to cool in the fridge for at least two hours or overnight. *I DID NOT CHILL! I just divided dough into two parts (you only need about half the dough for this pie, but why wouldn't you also make some mini grahams? See pics below!)
7. Take the rolled dough and place into a pie pan. The pan doesn't need to be greased. Crimp your edges to your liking and poke holes in the bottom with a fork to help prevent too much rising while it bakes. Now, you do chill. At least 30 minutes in the fridge before baking. If you're in a rush, freezer for 10 minutes. *I didn't blind bake this, but you can totally do that to help weight it down a bit.
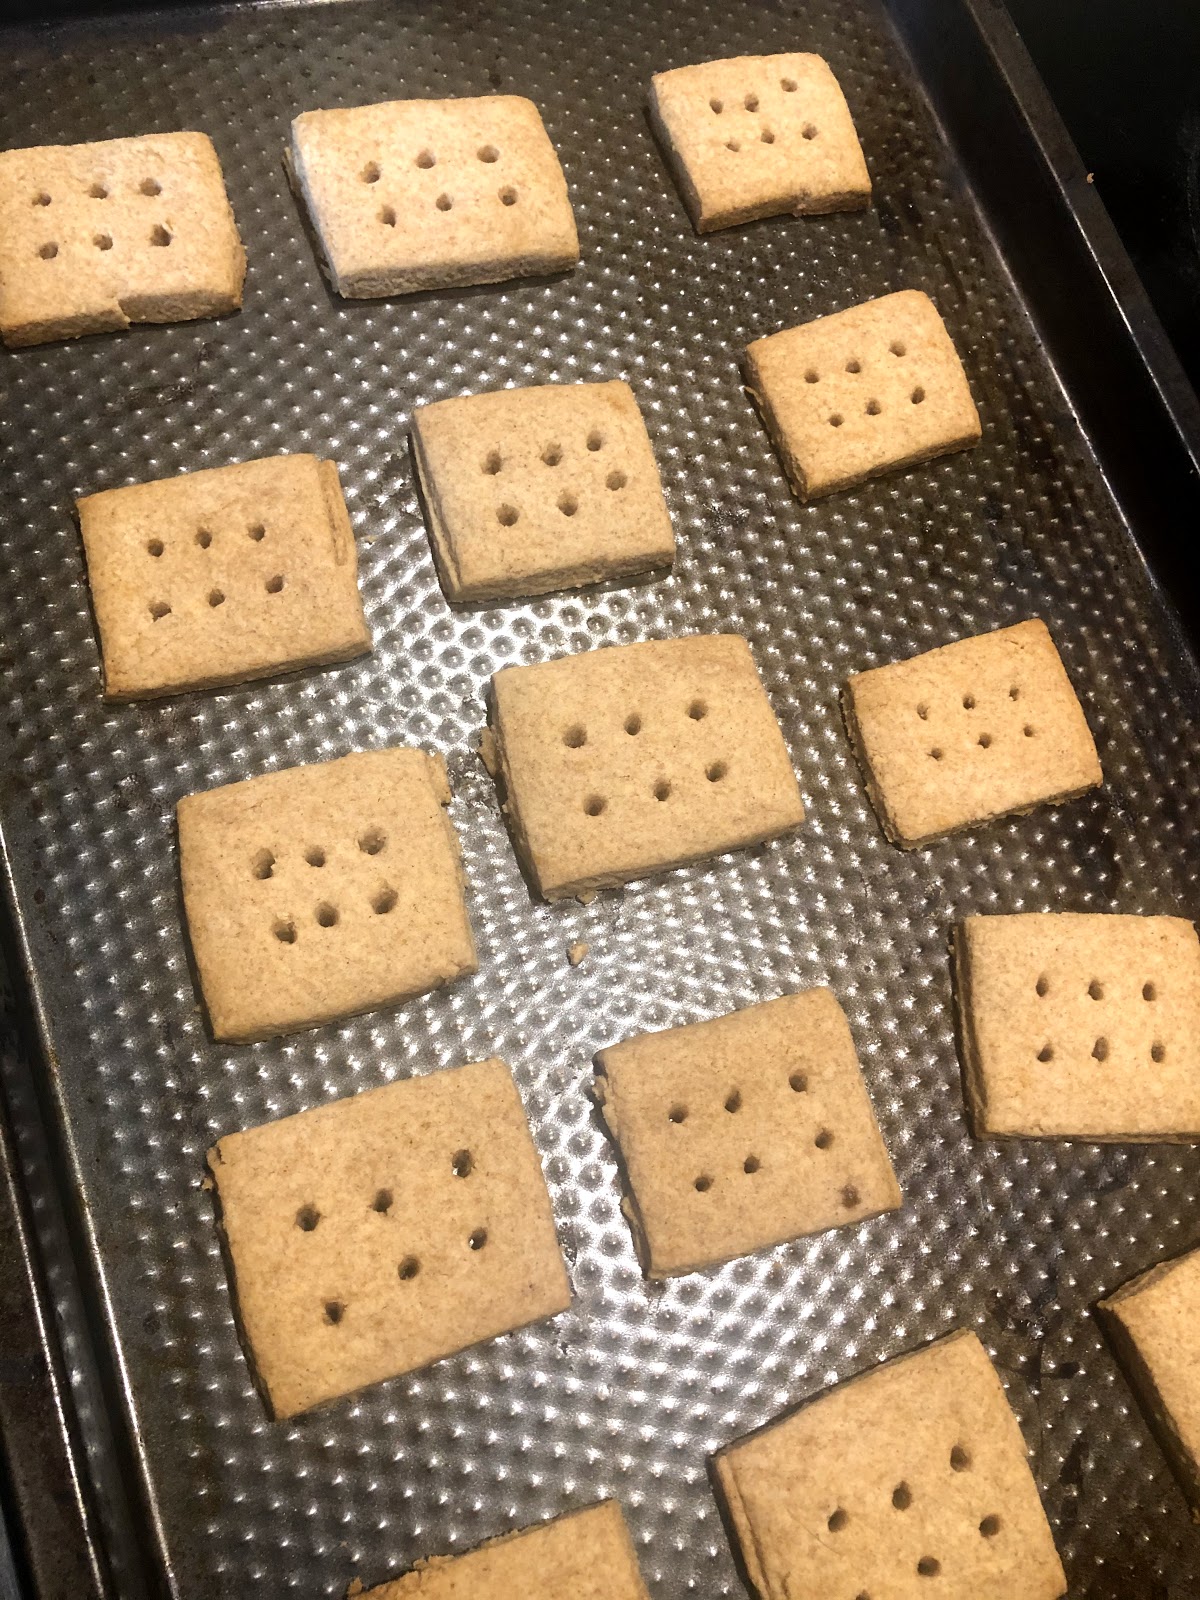
8. Roll out second half of your dough and cut crackers into rectangles. *I also poked holes in them so they looked more graham cracker-y. Chill again for 30 minutes before baking.

10. Bake crackers for 12 - 15 minutes if they're small like mine. *Mine were about 1 1/2 in x 1 1/2 in.
If they're bigger, like my usuals, then about 15 - 22 minutes. Bake the pie crust for about 25 - 30 minutes or until golden and pretty firm to the touch.

For the Chocolate Ganache:
This is the easiest step. Side note, this by itself, chilled in the fridge, rolled into balls and covered in your choice of toppings is a super easy truffle that everyone loves.
1 c heavy cream
12 oz chocolate *this is whatever chocolate you want. This can be fancy dark chocolate. For me, in this case, I did straight up a bag of semi-sweet chocolate chips.
4 tbsp (half a stick) unsalted butter, room temp * I forgot to room temp my butter- it's fine- it may just take a few mins longer to melt.
Pinch of salt
1 tsp vanilla extract
1. Place the heavy cream in a small pan on the stove and heat until just at a simmer. You don't want this to boil.
2. While the cream is heating, put your chocolate and butter chopped into small cubes into a heat safe bowl.
3. Once the cream has heated, pour over the chocolate and butter and cover bowl with plastic wrap for about 5 minutes. *This just ensures that your chocolate will melt and be easier to incorporate.
4. Stir the ingredients together. At first it will look like they aren't coming together. They will. Once it's smooth, I add some salt and vanilla to taste, and make sure to fully incorporate it.


For the Marshmallows:
Again, this is not a new recipe. You can find the original post about marshmallows here. The only thing I have changed for this is really the vehicle into which you put the marshmallows. Again, this will make WAY more marshmallow than you need for the pie. Again, I say, great! You have extra grahams as well. Buy a chocolate bar, and you're good to go!
2 ½ tbsp unflavored gelatin
½ c cold water
1 ½ c granulated sugar
1 c corn syrup
¼ tsp salt
½ c water *yeah, separate from the other ½ c water. I know. It was confusing to me too. It’ll all make sense, I promise.
1. Generously grease the bottom and sides of an 8 x 8 glass baking dish. Dust pan with powdered sugar. This will be for the extra marshmallows.
2. In the bowl of a stand mixer, sprinkle gelatin over ½ c cold water to soften; set aside.
3. In 2-quart saucepan, heat granulated sugar, corn syrup, salt, and ½ c water *you see, the second water* over low heat, stirring constantly until sugar is dissolved. Heat to boiling; cook without stirring about 30 minutes to 240F on a candy thermometer or until a small amount of mixture dropped into a cup of ice water forms a ball that holds its shape but is pliable. Remove from heat. *Okay, so I don’t know if it’s because I have an electric stove top, or what, but 30 minutes is insane. I got to soft ball stage at like 12 minutes. Trust your candy thermometer, and if you still aren’t sure, which I never am, do the water trick- have a small glass filled with water and ice by your station. When you think it's at the right temp, drop a spoonful of the mixture into the ice water. If it makes a soft ball that feels pliable in your fingers, you are good to go.
4. Slowly pour syrup into softened gelatin while beating on low speed *I used the whisk attachment*. Increase speed to high; beat 8 to 10 minutes or until mixture is white and has almost tripled in volume. Add in salt and vanilla and mix to incorporate.
 5. Slowly pour some of the marshmallow mixture onto the pie. Again, follow your heart- you know how much is enough. Then place the rest of the mixture into the prepared 8 x 8 pan. Place both pie and marshmallow pan somewhere safe from children, dogs, spouses, to set up overnight.
6. When ready to serve the pie, cut up into small pieces (this part's a bitch- sorry) and torch marshmallows with a kitchen torch! Fun and interactive for a party as well.
Here's a little bonus video of my dog eating fresh marshmallow fluff :)
4. Slowly pour syrup into softened gelatin while beating on low speed *I used the whisk attachment*. Increase speed to high; beat 8 to 10 minutes or until mixture is white and has almost tripled in volume. Add in salt and vanilla and mix to incorporate.

Here's a little bonus video of my dog eating fresh marshmallow fluff :)


No comments:
Post a Comment